While I was sweeping the leaves off the driveway, I paused to admire the colorful pile. Then it hit me. Stampin’ Up! Colorful Seasons stamp set and Seasonal Layers dies. So I left that pile of leaves on the driveway because when inspiration hits, you have to run before you forget.
.
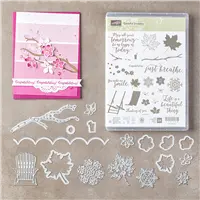
Here is the card that resulted from the pile of leaves. It’s a Colorful Season out there.

MEASUREMENTS (Supplies and Links are at the end)
- Very Vanilla Thick Cardstock: 4-1/4″ x 11″ scored at 5-1/2″
- Very Vanilla Thick Cardstock: 3-3/4″ x 5″ for the card base layer
- Tranquil Tide Cardstock: 4″ x 5-1/4″
- Gold Foil Designer Paper: 1/2″ x 3-3/4″ plus enough to die-cut leaves
- Watercolor paper and Thick Very Vanilla or Thick Whisper White for leaves
NOTE: You will probably have inky fingers when making the elements of this card. I suggest making several leaves and using them on other projects. I am sure there are some very neat crafters but I am not one! LOL!
ASSEMBLY (use any die-cutting and embossing machine)
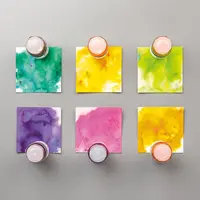
- Using either the Bermuda Bay pigment sprinkles or reinker, put a wash of color on the watercolor paper. Set aside to dry.

- Die-cut leaves from Thick Very Vanilla or Thick Whisper White cardstock.
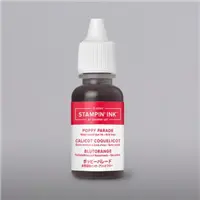
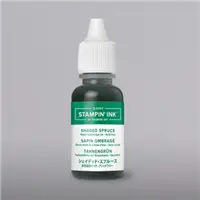
- Grab a baby wipe and the reinkers: Crushed Curry, Old Olive, Poppy Parade and Shaded Spruce. Fold the baby wipe into a nice square and place it on a large acrylic block. Put about 3-4 large drops of reinker on the baby wipe. Smoosh the leaves into the baby wipe until you like the coloring. Here is a picture of my inked baby wipe after smooshing my leaves.

- Stamp leaf veins on the dry inked watercolor paper and die-cut the leaves.
- Stamp leaf veins on the smooshed leaves.
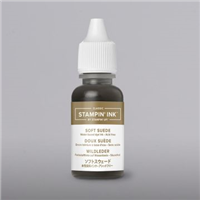
- Using a sponge and Soft Suede ink, distress the leaves. Pounce the sponge on the leaf a little to get some speckles.
- Die-cut the leaf outlines from Gold or Copper Foil Paper.
- Stamp texture from Artisan Textures stamp set onto the card base layer in about the same area you are going to place your leaf cluster.
- Prepare your leaf cluster and add it to the card base.
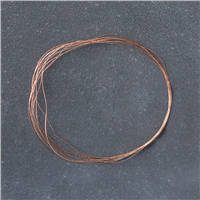
- Wrap some Copper Metallic Thread around 3 fingers, 3 times and adhere to the leaf cluster with a glue dot. I did this twice to get loops on top and bottom of the foil strip.
- Adhere the foil strip with Dimensionals.
- Add smaller leaf ‘floating’ from the corner.

- Assemble card. I used Tranquil Tide cardstock because it made the colors pop. Don’t be afraid to use whatever color pleases you. It’s fall colors. It’s all good!


Placing an order today? If you are placing an order for $150 or more, I want you to enjoy all of the Host Rewards you have earned. If your order is less than $150, Please add the Host Code for the month when prompted. I use the accumulated Stampin’ Rewards to purchase gifts for my customers and team.
Thank you! If you do not currently have a Stampin’ Up! Demonstrator, I would love to work with you. Contact me.
Do Something Creative Every Day,


Your posts in this blog really shine! Glad to gain some new insights, which I happen to also cover on my page. Feel free to visit my webpage 57N about Airport Transfer and any tip from you will be much apreciated.
Love your REAL leaves in the pile . Such pretty colors and inspiration I can understand the push to go create !!
I know, right? I love the fall colors.
Beautiful!! Thanks for demo and inspiration!
It was a treat to be able to spend time with you a couple weeks ago. Thank you!