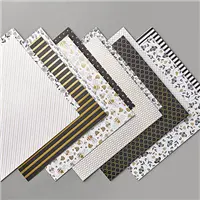
I am so glad that you stopped by. Thank you. I’d like to share the AMAZING Honey Bee Bundle and the FREE Golden Honey Specialty Designer Series Paper (DSP) from Stampin’ Up! I can’t get enough of this bundle. So many possibilities.
BEE FACTOID: Honey bees have been producing honey in the same way for 150 million years.
If you have not already heard, the first quarter of each year, Stampin’ Up! has an event called Sale-a-Bration. You can earn FREE stamp sets for every $50 in product you purchase. Over the next couple of weeks, I will be sharing some of my favorite stamp sets from the January-June 2020 Mini Catalog.
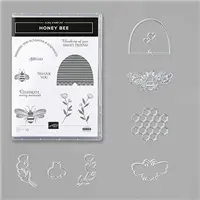
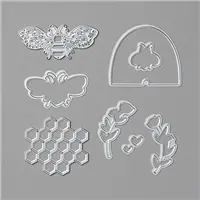
The first bundle I’d like to share is the Honey Bee Bundle and the coordinating Golden Honey Specialty Designer Series Paper (DSP). Order the Bundle and a package of Thick Whisper White Cardstock (or anything else to get the total up to $50) and get the Designer Series Paper (DSP) FREE.

I am going to refer to this week as Bee Week. It’s like Shark Week with fewer teeth. Here is a card that I made using this bundle of products.

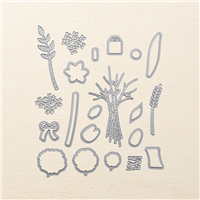
Honey Bee with 3D Scripty embossing and foliage using Bouquet Bunch dies
MEASUREMENTS (Supplies and Links are at the end)
- Whisper White Thick Cardstock: 4-1/4″ x 11″ scored at 5-1/2″ plus scrap to stamp honeybee
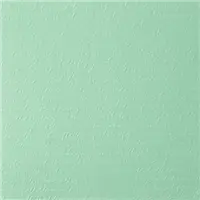
- Pretty Peacock Cardstock: 3-15/16″ x 5-6/16″ plus scrap to die-cut honeycomb
- DSP: 3-3/4″ x 5″
- Gold Foil Sheets: punch out medallion with Starburst punch
- Vellum scrap for die-cutting foliage
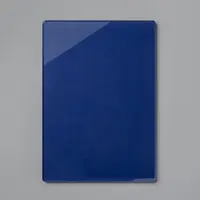
ASSEMBLY (use any die-cutting and embossing machine)
- Punch gold foil Starburst and run through Scripty 3D Embossing Folder. HINT: punch with backside showing in punch opening for a cleaner cut.
- Stamp Queen Bee in Memento Tuxedo Black and die-cut. Lightly color bee with Daffodil Delight Watercolor pencil and Wink of Stella.
- Die-cut the honeycomb from Pretty Peacock and save the hexagons.
- Die-cut various foliage elements from vellum.
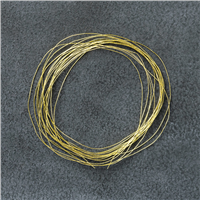
- Loop Gold Metallic Thread about 3 times around 4 fingers. Pinch in the center and adhere to the back of the bee. HINT: Put some snail adhesive on the back of bee before working with your thread!
- Put black Dimensionals behind the medallion and the bee.
- Put glue dots on random ‘honeycombs’ and adhere the die-cut colored honeycomb pieces. HINT: The ‘top-side’ of a die-cut will have slightly rounded edges.
- Assemble card layers as it pleases you. I attached the vellum foliage with Multipurpose Liquid glue at the base, leaving some movement along the top of the foliage.
- Grab a Whisper White Envelope or a Gold Foil Edged envelope and add some decorative stamping. In my sample, I used a 4th-generation stamp-off of the Very Versailles leaves and a small bee.
Come back tomorrow for another card using the Honey Bee Bundle.
JOIN STAMPIN’ UP! TODAY
During Sale-a-bration there are super incentives for JOINING Stampin’ UP! as a demonstrator. I would love for you to be part of my team. Join between January 3rd – March 31, 2020 and in addition to the usual Starter Kit $125 worth of products for just $99, you will get a new exclusive Mini Paper Cutter (6″ guiottine), 6″ x 6″ Designer Series Paper sampler, and your choice of any stamp set offered in the current catalogs. And we will throw in some business supplies. AND you will get FREE SHIPPING. All this for $99. Sound like a great idea to you? Make a list and contact me. I will help you get the MOST for your $$.
Placing an order today? If you are placing an order for $150 or more, I want you to enjoy all of the Host Rewards you have earned. If your order is less than $150, Please add the Host Code for the month when prompted. I use the accumulated Stampin’ Rewards to purchase gifts for my customers and team.
Thank you! If you do not currently have a Stampin’ Up! Demonstrator, I would love to work with you. Contact me.
Do Something Creative Every Day,

SUPPLIES (Click on any product to SHOP ONLINE 24/7)