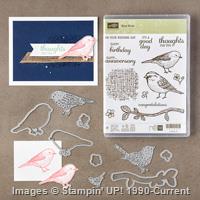
Have you ever created a card front only to find out that you misjudged (or cut) the card panel? Now it doesn’t fit on your card base. It happens, It’s a thing. Can it be fixed? Of course, it can. First, you chuckle at yourself. Then you think about your options. You can toss it on the ‘use it later pile’ or cut it down to fit or add to your design. Let’s start with my finished card and work back to where I went wrong and how I fixed it. Today it is about the GOOD, the BAD and the FIXED. Here is my card

DESIGN PROCESS
THE GOOD
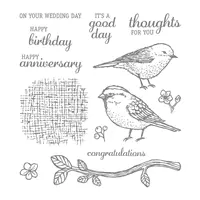
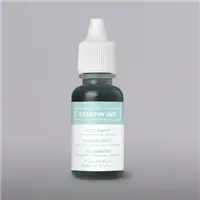
I wanted to make a simple cluster of flowers that coordinated with the Bird Ballad Designer Series Paper. So, pulled out the watercolor paper and stamped images from the Free as a Bird stamp set. So far so good. I added Pool Party and Old Olive ink and fussy cut the flowers and leaves.
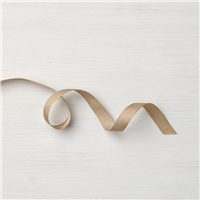
Now, I wanted to try a diagonal card. I found a scrap of Petal Pink that would work. I cut the DSP to the right size. I laid it all out on my workspace to assess the design. It needed something to break up the diagonal line. I went to my ribbon scrap box and found a short length of Crumb Cake ribbon to soften the edges between the two papers. Now the solid cardstock was too plain.
So, I pulled out my 3D Scripty embossing folder. Sigh, it was still missing something. Out came the tin of Bird Ballad Laser-cut cards. I cut out a circle medallion and was pleased with the effect. This is where I started adhering the layers together.
THE BAD
I NEVER measured the Petal Pink scrap. I lined up the DSP to the bottom of the Petal Pink and started gluing. Now comes the OH NO moment. The Petal Pink Scrap was too short. I was oblivious and just adhered the DSP to the bottom of the embossed Petal Pink panel.
THE FIXED
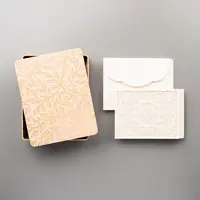
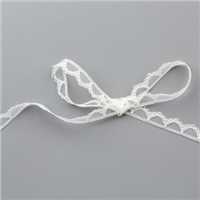
Do you see the space on the top and bottom of the panel? I really wanted to use the notecard so that I could use the envelopes from a past Paper Pumpkin. I did not measure. I went into auto-mode. I usually make A2 cards and those measurements are not the same as a notecard. I could not use the option to cut the panel down because it would chop off the ‘medallion’. Not wanting to change the envelope, I frantically looked around for a ribbon and came upon the Scalloped Lace Trim. Fixed!
If you are laughing and shaking your head in a knowing manner, you are my new best friend. Because there are no mistakes just design changes and chances for embellishment.
Lesson Learned: Measure, Measure, Measure.
On a side note, the NEW Paper Trimmer is AWESOME! ORDER IT NOW.
MEASUREMENTS (Supplies and Links are at the end)
WHAT I SHOULD HAVE DONE
- Very Vanilla Notecard (folded card is 5″ x 3-1/2″)
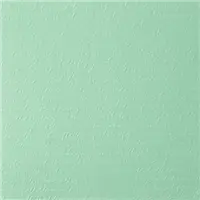
- Pool Party Cardstock: 4-7/8″ x 3-3/8″
- Petal Pink Cardstock: 4-5/8″ x 3-1/8″
- DSP: 4-5/8″ x 3-1/8″
- Watercolor Paper scraps for stamped images
ASSEMBLY (use any die-cutting and embossing machine)
- Stamp images using Basic Gray ink on watercolor paper.
- Use Aqua Painter with Pool Party and Old Olive reinkers to paint a little color on the stamped images.
- Fussy cut images.
- Emboss Petal Pink card panel with 3D Scripty embossing folder.
- Cut diagonal from the DSP. I cut 1/2″ from top right to 1-1/2″ on the bottom left.
- Adhere a Crumb Cake ribbon to the diagonal cut on the back of DSP.
- Adhere the DSP layer onto the Petal Pink layer.
- Fussy cut medallion from Bird Ballad Laser-cut notecard and adhere to the center of the card panel.
- Layer flower and leaf cut-outs as it pleases you. Use Dimensionals on some of the flowers.
- Add to the Pool Party layer and then to the notecard.
- No need for extra lace on top or bottom of the panel.
")
")
")
I think the notecard turned out fine in the end. I would love for you to go create your cards with abandon. This is about you and what makes you happy. Take the stress out of card design and have fun!
Placing an order today? If you are placing an order for $150 or more, I want you to enjoy all of the Host Rewards you have earned. If your order is less than $150, Please add the Host Code JTPXJ2JE when prompted. I use the accumulated Stampin’ Rewards to purchase gifts for my customers and team.
Thank you! If you do not currently have a Stampin’ Up! Demonstrator, I would love to work with you. Contact me.
Do Something Creative Every Day,


I absolutely love how it turned out! Those are the best ‘mistakes’!
Thanks. I just kept shaking my head and rolling my eyes until I had a solution. LOL