Do you have any old dictionaries or encyclopedias lying around? You can’t give them away. Most people just use Google or Siri to find an answer. So what do you do with the dictionaries and encyclopedias? Today I am going to share tips on using dictionary pages with stamps to create card backgrounds.
The first thing you should know about using the dictionary pages is that they are not acid free. I do not recommend using them in scrapbooks. However, they make great backgrounds for cards. You can choose a specific page for the words or just rip out random pages. It took me many years before I could actually rip out pages from books, dictionaries and encyclopedias for use in crafting. (Thank you Mom and Dad for teaching me to care for my books.) Second-hand shops do not want dictionaries, encyclopedias or damages novels. So, why not give them new life? Remember —– Reduce, Reuse, Recycle!
This post is to inspire you to use old print materials creatively in your cards. Here are a some cards I created using old dictionary pages.


HINTS TO SUCCESSFULLY USING DICTIONARY PAGES TO CREATE CARD BACKGROUNDS
- Books are not acid free. I do not recommend for archival work like scrapbooks.
- Best adhesive is tape runner or glue dots. The paper is thin and tears easily.
- Mount dictionary page on cardstock for rigidity if using Dimensionals.
- Dictionary pages do not dry emboss well.
- Blends (alcohol markers) work the best for shading and transparent color.
- Lightly coloring with watercolor pencils works well but I did not have much luck in actually watercoloring the pages.
- Choose page with meaningful word to make card more personal.
- Use Masks to create a unique background and added dimension.
- Paper is thin and die cuts are delicate. I used tweezers and glue dots to place die cuts.
- Use Thick Very Vanilla Cardstock to closer match the aged look of the pages.
SOME OF THE TECHNIQUES USED
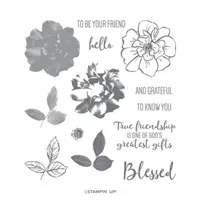
- To A Wild Rose: Cut page into various widths and lengths. Rose was a leftover from prior project (ALWAYS SAVE LEFTOVER STAMPED IMAGES – I keep them in a clear envelope in the stamp case.)
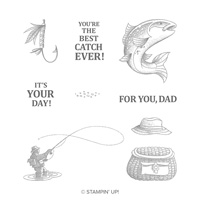
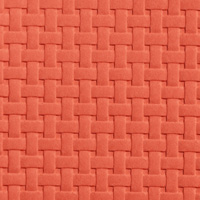
- Best Catch: Emboss layer with Basket Weave Emboss Folder and ink it to get dimension. Used Watercolor Pencils to lightly shade stamped image. Stamp and cut sentiment apart to arrange as it pleases you!
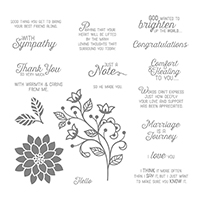
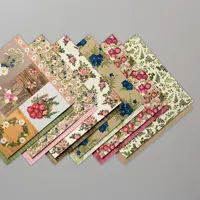
- Flourishing Phrases & Perennial Birthday: Stamp image on scrap dictionary page and cut out to make a mask. Stamp image on background, mask and stamp other images. I used a White Uni-Ball Signo Gel Pen to make white dots around petal edges. Stamp sentiment and clear emboss. (I stamped sentiment in Versamark then color ink then added clear emboss powder). Stamp leaves cut out and place elements. I added some clear epoxy hearts.
- Free As A Bird: Using Mask Stencil on background. Stamp image and color with Blends. Emboss sentiment on ‘burlap’ from Pressed Petals Designer Series Paper. (Stamp with Momento ink and clear emboss. No need to use Versamark if you are fairly quick!) Pressed Petals Specialty Washi Tape gives the background a little added depth.
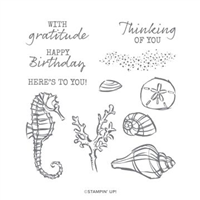
- Seaside Notions: Stamp image and color with Blends. Use leftover Paper Pumpkin star to embellish. Use Light Smoky Slate to outline image if you want added depth.
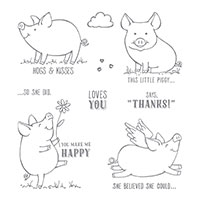
- This Little Piggy: Stamp image and color with Blends. Stamp again and cut out sentiment. Frame sentiment and add Dimensional. Use 3D Scripty Emboss Folder on background layer.
Placing an order today? If you are placing an order for $150 or more, I want you to enjoy all of the Host Rewards you have earned. If your order is less than $150, Please add the Host Code for the month when prompted. I use the accumulated Stampin’ Rewards to purchase gifts for my customers and team.
Thank you!
If you do not currently have a Stampin’ Up! Demonstrator, I would love to work with you. Contact me.
Do Something Creative Every Day,

SUPPLIES (Click on any product to SHOP ONLINE 24/7)
I used various Blends. Check out the Stampin’ Blend Collection HERE.


Fabulous idea. So unique!
Thank you. I am a reperposer at heart.
Good things to know, I will tuck it in my save folder.
Excellent job Ann.
Thank you for your kind words.
You’ve done it again!! Great tips! And the pages give such a unique background look.
Love the idea of finding specific words/definitions.
Thanks for sharing your creativity and inspiring us 🙂
Thank you for your words of encouragement. Always look to repurpose!