Welcome! So glad you stopped by. Today I have another Forever Fern Pairing for you. The Forever Fern Bundle is so versatile. I am pairing with Butterfly Gala today. Forever Fern & Butterflies conjure up an organic vibe for me. The card today is quite simple and I am sure that you will enjoy making these in many color combinations.
Ready for today’s card? Here it is.

- Shimmery White cardstock: 4-1/4″ x 11″ scored at 5-1/2″
- Gray Granite cardstock: 4″ x 5-1/4″ for card panel frame
- Shimmery White cardstock: 3-3/4″ x 5″ for card panel
- Shimmery White cardstock:: 4-1/4″ x 5-1/2″ for stamping elements
- Emboss Shimmery White card panel with Scripty 3D embossing folder.
- Stamp 3 different images from Forever Fern in Gray Granite ink on Shimmery White. TIP: Using the Stamparatus to stamp all 3 images at the same time is a great time-saver.
- Die-cut images using the Forever Flourishing dies.
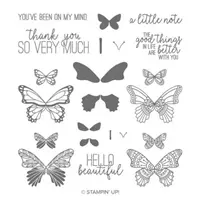
- Stamp butterflies from Butterfly Gala in Flirty Flamingo ink on Shimmery White.
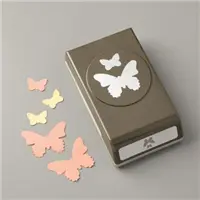
- Punch butterflies out using Duet Butterfly punch.
- Stamp sentiment from Butterfly Gala in Gray Granite on Shimmery White and fussy cut. TIP: Fussy cutting is not difficult. Using the super sharp Snips, open them up and slowly cut while moving the paper. Your scissors arm does not do a lot of moving around.
ASSEMBLY
- Layer as shown. RECOMMENDATION: The NEW Stampin’ Seal tape runner is perfect for layering. It runs smoothly and fits nicely in my hand. I highly recommend this tape runner.
- Add 2 leaf die-cuts to the embossed backgound using Liquid Glue.
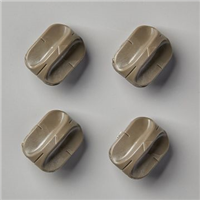
- Use Dimensionals behind 3rd leaf die-cut and add to the lower left side of the cluster.
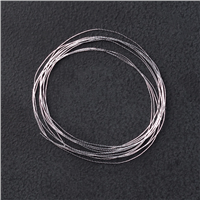
- Wind Silver Metallic Thread around fingers 5 times and adhere to the back of the butterfly with Glue Dots. TIP: Wind the metallic thread loosely around 2 and 3 fingers, pinch at the base, and secure with a glue dot on both sides of the pinch.
- Add Dimensionals behind the butterfly and tuck into the arrangement.
- Use Mini-Dimensionals behind sentiment and layer as shown.

I hope you enjoy making this card as much as I did.
Here is a link to my other Forever Fern Pairing with the Tasteful Touches stamp set.
Let’s Get Super Excited
- You can order from my shop 24/7 or contact me anytime with questions.
- Leave me a comment. I’d love to hear from you.
- What did you like?
- What would you like to see more of?
- Need help implementing a technique? Ask me and I will see what I can do.
- HOST a WORKSHOP or CLASS? Contact me to get on the schedule. I will design a workshop based on your desires.
- JOIN MY TEAM Purchasing the $99 Starter Kit is one of the BEST DECISIONS EVER!
- Visit my PROJECT GALLERY for more paper crafting inspiration.
- Subscribe to PAPER PUMPKIN and get a different creative kit every month.
- SUBSCRIBE TO MY BLOG NOW!
- Ask me how to get your FREE catalog.
I CAN SHOW YOU HOW TO TAKE YOUR CARDMAKING & SCRAPBOOKING TO THE NEXT LEVEL.


Absolutely gorgeous! I’m going to be making this for thank you cards.
Thank you for the best compliment EVER.
Is this stamp still available?
Hi Barbara, Yes the Forever Fern and coordinating dies are still available. Click on the link under supplies and search for 152559 and 152714. Thank you