Happy Friday! I came across this beautiful quote that inspired me to create a card with a repeating circle theme. Do you feel the circle of life in this quote? Do you feel hope?
Those who contemplate the beauty of the earth find reserves of strength that will endure as long as life lasts. There is something infinitely healing in the repeated refrains of nature — the assurance that dawn comes after night, and spring after winter. ~ Rachel Carson
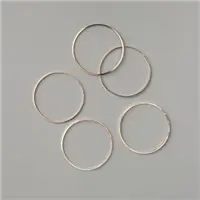
I used the NEW Gold Hoop Embellishments as a starter. I had leftover parts from the Sunshine Wreath project and this card came together quickly. Here it is…

MEASUREMENTS (Supplies and Links are at the end)
- Thick Whisper White Cardstock: 4-1/4″ x 11″ scored at 5-1/2″ plus scrap for sentiment
- Bumblebee Cardstock: 3-3/4″” x 2-3/4″ plus scraps for flower die-cut
- Fluid 100 Watecolor Paper: 3-1/2″ x 2-1/2″
- Old Olive Cardstock: scraps for leaves
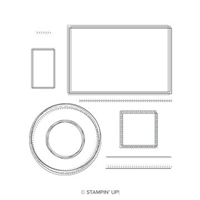
PIECES AND PARTS (use any die-cutting and embossing machine)
PREPARE THE BACKGROUND:
- On the front of the folded card base, stamp circles from the Swirly Frames stamp set using Gold Metallic Ink. TIP: If you do not have the Gold Metallic Ink, use Versamark and Gold Embossing Powder.
- Paint a watercolor wash with Melon Mambo reinker and AquaPainter on Fluid 100 Watercolor panel. Let dry.
PREPARE THE WREATH:
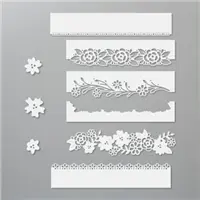
- Die-cut 4 leaf stems from Old Olive using Forever Flourishing dies.
- Die-cut 2 large flowers from Bumblebee using Ornate Borders dies.
- Adhere to Gold Hoop using Glue dots between leaves and Mini-Dimensional (cut in half) between flowers.
- Add 3 small Gold Glitter Enamel Dots to flower center.
PREPARE THE SENTIMENT:
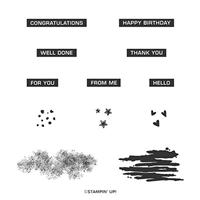
- Stamp sentiment on Thick Whisper White scrap in Tuxedo Memento Black.
- Fussy cut leaving a thin white border.
ASSEMBLY
- Layer as shown.
- Use Glue Dots behind leaves/flowers and one on the hoop. TIP: Roll the Glue Dot before applying to the back of the hoop.
- Use Mini-Dimensionals to add the sentiment.
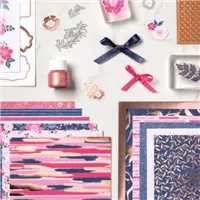
- Grab a Whisper White envelope and add some coordinating DSP to the envelope flap. Make sure you can run your hand across it without ‘flipping up’ any paper. I used Everything Is Rosy DSP.
- Stamp your message on the inside of the card. TIP: When you use Thick Whisper White it is not necessary to have a separate panel for inside message. It is your preference.


If you enjoyed this post, please be sure to…
- Leave me a comment. I’d love to hear from you. What did you like and what would you like to see more of?
- Please use this month’s host code on orders under $150! Orders of $75 or more will receive a free gift from me!
- Shop the LAST CHANCE PRODUCTS before they are GONE!
- Stampin’ Blends will be sold as Combo packs only in 20-21 catalog
- Snail adhesive is being replaced by an easier to use ‘dot-type’ adhesive in two strengths
- Aqua Painters will be sold in a 3 pack – to include a broad brush
- Shop the Clearance Rack with discounts of up to 60%!
- Read my Reasons to Join and why purchasing the $99 Starter Kit is the best decision ever!
- Visit my project gallery for more paper crafting inspiration!
- Learn more about Paper Pumpkin.
- Don’t miss a blog post. Subscribe to my BLOG NOW!
- GET YOUR 2020-2021 ANNUAL CATALOG PAPER, RIBBON AND/OR DSP SWATCH BOOK


So beautiful Ann! Your creativity has been so inspiring! Great job girlfriend!!
Thanks, Lee Ann! Miss the collaboration. We need to plan a retreat.
Love it – and agree with the comment about circles. They are just so perfect. Love your coloring and layout!
Thank you, Brian. Needed something bright and playful.