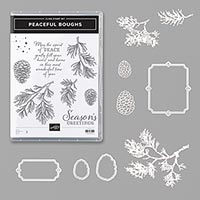
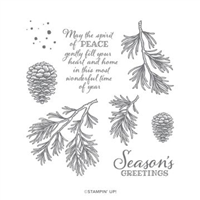
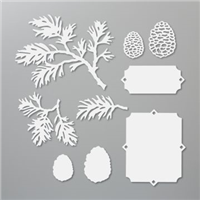
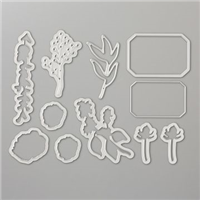
I LOVE to decorate for the holiday season. The little vignettes of sparkle and holiday charm that change a room. It brings me joy when a guest sees something hanging on a mirror or tucked into a bookshelf and stops to admire it. Not all decor items need to be big and bold. And what is more festive than a winter wreath with boughs and berries? So, I have created a little wreath from the Peaceful Boughs Bundle and First Frost Dies using a little inspiration from Pier 1. Here is my Pier 1 inspiration. 
I picked out 3 colors of pine boughs in this wreath: Mossy Meadow, Old Olive and Mint Macaron. The berries, twigs, pinecones and a burlap ribbon bow finish off the vision. This project could use any combination of colors to coordinate with your decor. And what a perfect way to use the Beautiful Boughs, Seasonal Layers and Frosted Bouquet dies.

I wanted some ice crystals on the bough tips so I used the Shimmery Crystal Effects and Ice Stampin’ Glitter.
MEASUREMENTS (Supplies and Links are at the end)
- Mossy Meadow Cardstock
- Old Olive Cardstock
- Mint Macaron Cardstock
- Soft Suede Cardstock
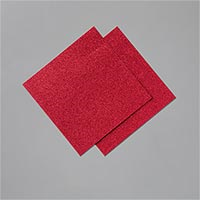
- Red Glimmer Paper
- Wreath Form – glue pop tab to back for hanging and tint wreath form with Early Expresso ink

ASSEMBLY (use any die-cutting and embossing machine)


- Sand and color wreath form.
- Die-cut lots of pine boughs (about 40). I suggest 5-6 larger boughs from Mossy Meadow cardstock and a variety the 3 bough cluster and single boughs from Old Olive and Sea Foam cardstock. Add Ice Stampin’ Glitter to bough tips if desired. I pounced the boughs with Mossy Meadow and Mint Macaron ink with a sponge wedge to add depth before ‘ice glittering’.
- Die-cut 4-5 branches from the Soft Suede cardstock.
- Die-cut 4-5 berry branches from Red Glimmer or Red Foil paper.
- Stamp pinecones in Early Expresso ink on Soft Suede cardstock and die-cut.
- Lightly sand the wreath form and use Multipurpose Liquid Glue to attach the larger bough clusters.
- Layer boughs, branches and berries. I did a little selective ‘pruning’ if my bough or branch was too big for the space I was filling.
- Stamp and die-cut 3 pinecones using Soft Suede cardstock and Early Expresso ink.
- Attach a burlap ribbon bow with Glue Dots.
BONUS ATC (Artist Trading Card)
I used leftover and ‘broken’ pieces for this ATC. My die-cuts do not always come out of their dies cleanly. I get a little impatient and pull which breaks the thin pieces. However, like all things, that does not make them trash. I save the pieces and add them to projects here and there.

Check out the October ATC Swap and sign-up to participate.
Placing an order today? If you are placing an order for $150 or more, I want you to enjoy all of the Host Rewards you have earned. If your order is less than $150, Please add the Host Code for the month when prompted. I use the accumulated Stampin’ Rewards to purchase gifts for my customers and team.
Thank you! If you do not currently have a Stampin’ Up! Demonstrator, I would love to work with you. Contact me.
Do Something Creative Every Day,


Having read your blog, you obviously know what you are talking about. I’m sure visiting my page QN6 about Online Business will be worth your time!
Love this Ann! Now I’m starting to think Christmas. Such fun
Thank you Karen. You will have so much fun playing with this wreath and adding elements that coordinate with your home. Try silver glimmer paper or thick whisper white for the berries.
I am so proud of you! This is such a wonderful posting. You have hit a homer with this one. So fabulous! You even put a amazon link. Wow, Wow, Wow!
Love it.
Thank you! Glad you like all the links 🙂
WOW, ANN! Please help me find my eyes – they popped right out of my heat. This is A LOT of work, and it’s amazingly done. LOVE THIS! ♥♥♥
Look under the chair for your eyes. That’s where I usually find my dies, stamps, embellishments, etc. So glad you like the wreath. It was a super fun project. BTW, you sent me the Peaceful Boughs bundle. I shall call this the “BK Wreath”.
ABSOLUTELY LOVE THIS!!!!
Thanks for sharing – looking forward to
giving this a try this weekend!!
Thank you! And I look forward to seeing your wreath.