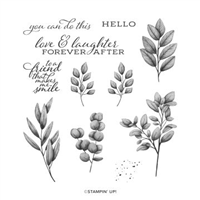
Pull out that Forever Fern stamp set. Today we make a simple watercolor band and add a little stamping for a super easy card. I am CASEing (Copy and Selectively Editing) this card design from Heidi Collins.
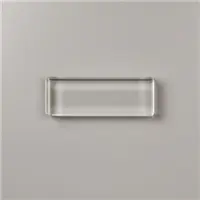
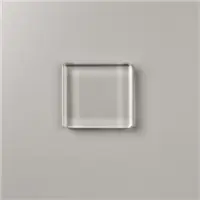
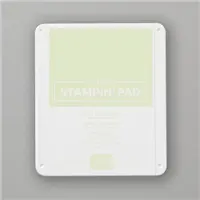
Here are the cards that I made using the watercolor smoosh on a block technique. I made that up because I wasn’t sure what to call this technique. All you need to do this are ink pads, clear block, and a spritzer. And of course the Forever Fern stamp set.
This technique is adaptable to any color combination. I used the same colors as Heidi.
I found that the key to success with this watercolor band technique was light spritzing. My first attempt was pretty wet and I was not pleased with my result. Then I took my own advice and held the block at arm’s length with the spritzer close to my body and spritzed the block. The result was a lightly spritzed inked block. Then I tilted the block toward the darker color so that the colors would blend. Reality check: if you like it, it is perfect!

Too much water
(I just flipped the paper over and tried it again)
I like the blending and white space
MEASUREMENTS
- Shimmery White cardstock: 4-1/4″ x 11″ scored at 5-1/2″
- Shimmery White cardstock: 4-1/4″ x 5-1/2″ to be cut to size after stamping
TECHNIQUE
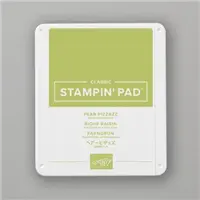
- Grab the ink pads listed above.
- Starting with the lighter color, wipe the ink pads on a Clear Block H. TIP: Be careful not to wipe the ink pad into the other colors. It is ok to have a little blank space between the colors.
- Spritz a fine mist of water onto the inked block. REMEMBER to hold the block at arm’s distance with spritzer close to your body. You can always add more water. If you get too much water on the inked block, just let it dry a bit.
- Line up the block on your Shimmery White card panel and smoosh.
- Let dry.
STAMPARATUS ALIGNMENT TECHNIQUE
When you have a photopolymer stamp that you can see through, lining up sentiments is easy. But what about the red rubber opaque stamps? Here is a tip that I found useful.
I use Clear Template Plastic cut to fit the Stamparatus. The template plastic can be easily cut to size using your Paper Trimmer. Template plastic can be purchased at most fabric shops that have quilters tools. It will run about $8-10 USD for 3 – 12″ x 18″ sheets. Cleaning the template plastic is a breeze. Just wipe it clean with a damp shammy.
Place your card on your Stamparatus platform. Put the clear template plastic on top of your card. Line up your sentiment on the template plastic. Close the Stamparatus plate over the sentiment stamp to secure it for stamping. Ink the stamp and stamp your image. Is it in the correct location on your card? If not, reposition the stamp until you have it where you want it. Remove the template plastic and stamp the sentiment on your card.

template plastic for sentiment alignment 
remove plastic template and stamp sentiment
STAMPING
- Stamp some random dots on the watercolor band.
- Add leaves in varying directions.
- Trim the card panel to 4″ x 5-1/4. TIP: This is where you have a chance to even it up if you got a little wonky on the stamping.
ASSEMBLY
- Layer onto card base.
- Frame card panel (optional).
- Add a stamped image to an envelope and inside card panel.
Could that card be any easier? Or any more awesome? Did you like the Forever Fern – Watercolor Band? Please give it a try. And don’t forget to order you Forever Fern Bundle.
Let’s Get Super Excited
- You can order from my shop 24/7 or contact me anytime with questions.
- Leave me a comment. I’d love to hear from you.
- What did you like?
- What would you like to see more of?
- Need help implementing a technique? Ask me and I will see what I can do.
- HOST a WORKSHOP or CLASS? Contact me to get on the schedule. I will design a workshop based on your desires.
- JOIN MY TEAM Purchasing the $99 Starter Kit is one of the BEST DECISIONS EVER!
- Visit my PROJECT GALLERY for more paper crafting inspiration.
- Subscribe to PAPER PUMPKIN and get a different creative kit every month.
- SUBSCRIBE TO MY BLOG NOW!
- Ask me how to get your FREE catalog.
I CAN SHOW YOU HOW TO TAKE YOUR CARDMAKING & SCRAPBOOKING TO THE NEXT LEVEL.










This is gorgeous, Ann! Thanks for sharing the technique with us.
Glad you like it. 🙂