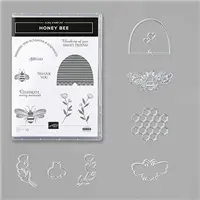
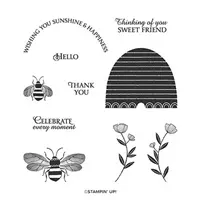
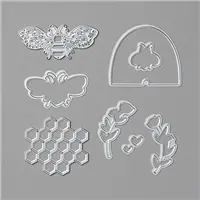
2 more days then I promise to use another stamp/die bundle. LOL! Welcome Back to Day 7 of Bee Week. Today is about friendship and bright colors. So let’s get started on today’s project about friendship titled, “You Brighten My Life”. This is an easy card to make in multiples.
BEE FACTOID: The name ‘Melissa’ is derived from the Greek word for honey bee.
MEASUREMENTS (Supplies and Links are at the end)
- Basic Black Cardstock: 4-1/4″ x 11″ scored at 5-1/2″ and scrap for sentiment
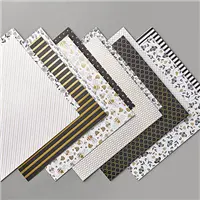
- Golden Honeybee DSP: 3-1/2″ x 4-3/4″ (FREE During Sale-a-Bration with $50 product purchase)
- Whisper White Thick Cardstock: scrap for bee die-cut
- Granny Apple Green Cardstock: 3-1/2″ x 3-1/2″ for die-cutting 3″ Stitched Circle
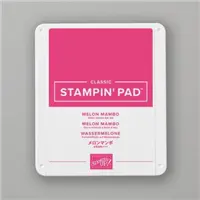
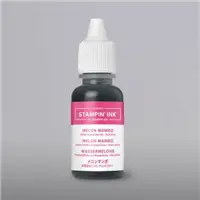
- Melon Mambo Cardstock: 3-11/16″ x 4-15/16″ and 2-1/2″ x 3″ for die-cutting Stitched So Sweetly label
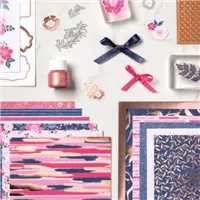
- Melon Mambo Ruched ribbon from Everything is Rosy Product Medley (On Clearance Rack as of 1/13/2020)
- White White linen thread (extra embellishment stash from Paper Pumpkin kits)
ASSEMBLY (use any die-cutting and embossing machine)
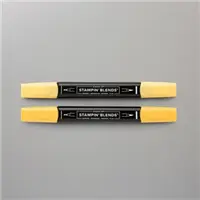
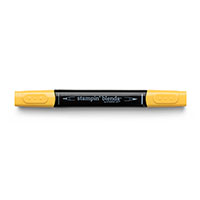
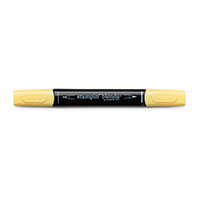
- Stamp and die-cut queen bee. I added color with Dark Daffodil Delight Blend Marker on the body and Light Daffodil Delight Blend on wings.
- Die-cut the 3″ circle from Granny Apple Green.
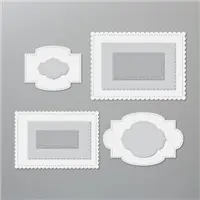
- Die-cut a Melon Mambo Label from the Stitched So Sweetly die set and the hearts from the Detailed Bee die (2x).
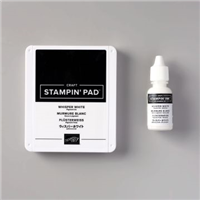
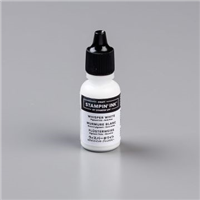
- Stamp sentiment in Whisper White Craft Ink and heat emboss with White Emboss Powder. Then fussy cut. NOTE: Any sentiment will work. I had this one ready to go on my workspace.
- Use Dimensionals behind the Melon Mambo label, the bee and the outer edge of the sentiment. NOTE: Do not put a dimensional on the side overlapping the stitched die-cuts. Your goal here is just to keep all the layers level with each other.
- Wrap Whisper White Linen Thread around 4 fingers 3 times, pinch and twist in the center then adhere to the bee or center of label die-cut.
- Assemble card layers as it pleases you. I added 2 – 1-1/2″ lengths of ribbon to frame the focal area.

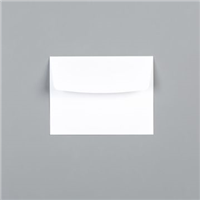
- Grab a Whisper White envelope and add some decorative stamping or cut some coordinating DSP for the envelope flap.
- Don’t forget to make an inside panel for your message. Cut a 4″ x5-1/4″ Whisper White cardstock panel and adhere to the inside of the card.
Come back tomorrow for the InKing Royalty Blog Hop and the last day of Bee Week 2 creations using the Honey Bee Bundle because your visits and your comments ‘brighten my day’.
If you missed any of the Bee Week projects, check them out by clicking on the day
| DAY 1 | DAY 2 | DAY 3 | DAY 4 |
Pressed Petal Banner and Embossed Card create texture for the honeybee | |||
| DAY 5 | DAY 6 | BONUS – HONEY BEE ATC |
JOIN STAMPIN’ UP! TODAY
During Sale-a-bration there are super incentives for JOINING Stampin’ UP! as a demonstrator. I would love for you to be part of my team. Join between January 3rd – March 31, 2020 and in addition to the usual Starter Kit $125 worth of products for just $99, you will get a new exclusive Mini Paper Cutter (6″ guillotine), 6″ x 6″ Designer Series Paper sampler, and your choice of any stamp set offered in the current catalogs. And we will throw in some business supplies. AND you will get FREE SHIPPING. All this for $99. Sound like a great idea to you? Make a list and contact me. I will help you get the MOST for your $$. AND that’s not all, you get at least 20% off on all your future orders. BEST DECISION EVER!
Placing an order today? If you are placing an order for $150 or more, I want you to enjoy all of the Host Rewards you have earned. If your order is less than $150, Please add the Host Code for the month when prompted. I use the accumulated Stampin’ Rewards to purchase gifts for my customers and team.
Thank you! If you do not currently have a Stampin’ Up! Demonstrator, I would love to work with you. Contact me.
Do Something Creative Every Day,


